Sign in to Twilio Console
Sign in to the Twilio Console.
Create SIP Trunk
Navigate to Elastic SIP Trunking → Manage → Trunks. Select
Create new SIP Trunk, provide a friendly name (e.g., “SuperU Outbound”),
and click Create SIP Trunk.
Configure Termination
Select Termination in the left sidebar of your trunk settings.
- Termination SIP URI: Choose a unique SIP URI (e.g.,
my-superu-trunk.pstn.twilio.com) and copy it. You will need this for the SuperU dashboard. - IP Access Control Lists: You can skip this for credential-based authentication.
- Credential Lists: Click the + icon to create a new Credential List.
Configure Authentication
In the Create Credential List modal: 1. Provide a friendly name for the
list. 2. Enter a Username and Password.Click Create to save the credentials. Then make sure the checkbox for your
new list is selected on the Termination page. Click Save at the bottom of
the Termination page.
Make sure these values match the username and password you use for your
SuperU outbound trunk.
Connect to SuperU
Go to your SuperU dashboard and open the Bring Your Own Number modal.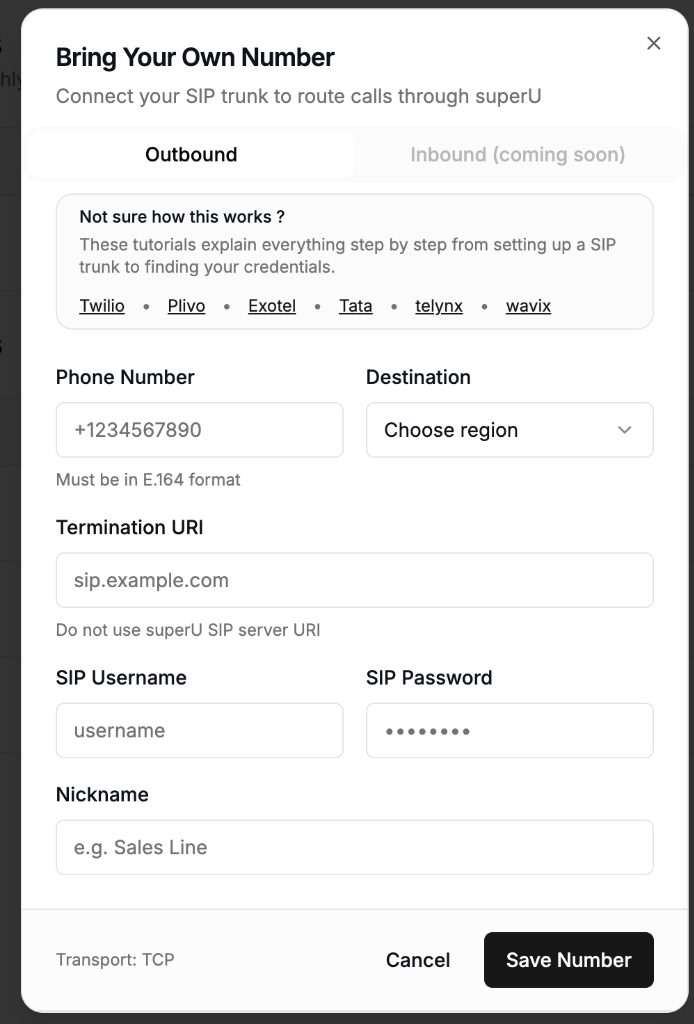
- Phone Number: Enter the phone number you purchased in Twilio (ensure it is associated with this trunk if required, though typically for outbound only trunk association logic varies, usually just needs to be a verified caller ID or number on the account).
- Destination: Select the appropriate region.
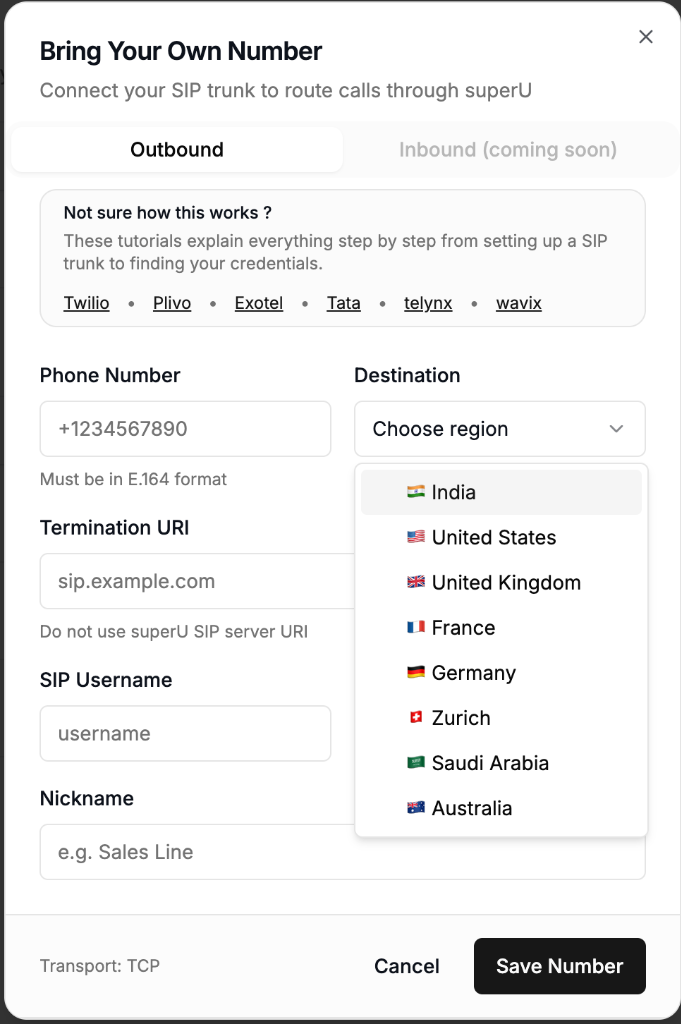
- India
- United States
- United Kingdom
- France
- Germany
- Zurich
- Saudi Arabia
- Australia
- Termination URI: Paste the Termination SIP URI you created (e.g.,
my-superu-trunk.pstn.twilio.com). - SIP Username: Enter the username you created in the Credential List.
- SIP Password: Enter the password you created in the Credential List.
- Nickname: Give this number a recognizable name (e.g., “Twilio Outbound”).