Sign in to Telnyx Portal
Sign in to the Telnyx Portal.
Create SIP Connection
Navigate to Voice → SIP Trunking. Select Create SIP Connection,
provide a friendly name (e.g., “SuperU Outbound”), and click Create SIP
Connection.
Configure Outbound Settings
Select Outbound in the settings of your SIP connection.
- Outbound Voice Profile: Create a new profile or select an existing one.
- Authentication: Under Expert Settings (or Authentication settings), choose Credentials.
- Credentials: Create a Username and Password.
Make sure these values match the username and password you use for your
SuperU outbound trunk.
Connect to SuperU
Go to your SuperU dashboard and open the Bring Your Own Number modal.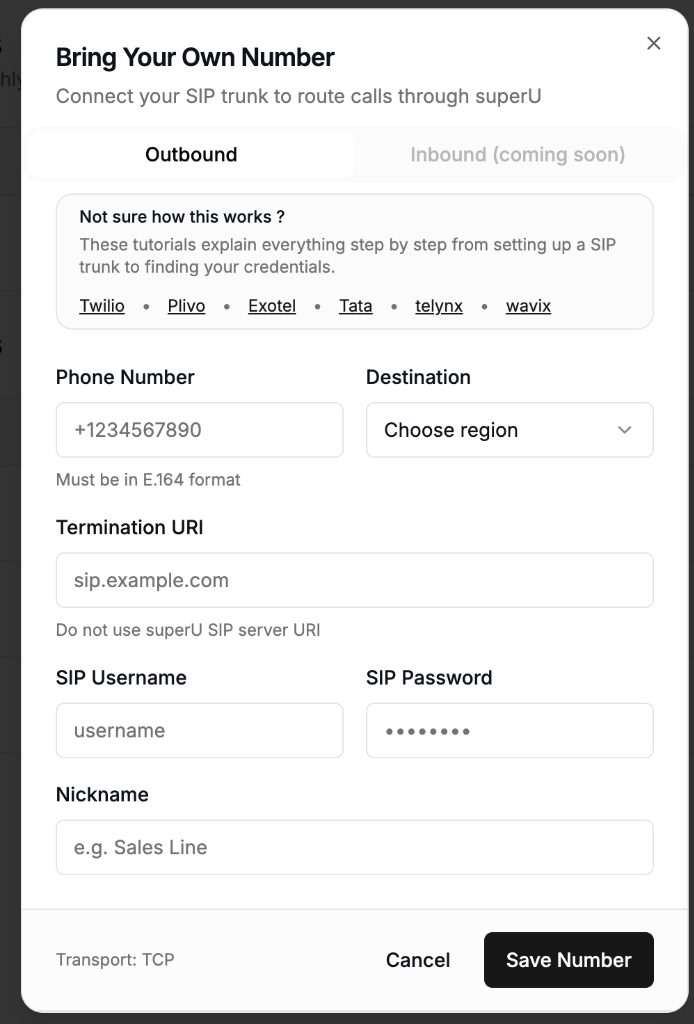
- Phone Number: Enter the phone number you purchased in Telnyx.
-
Destination: Select the appropriate region.
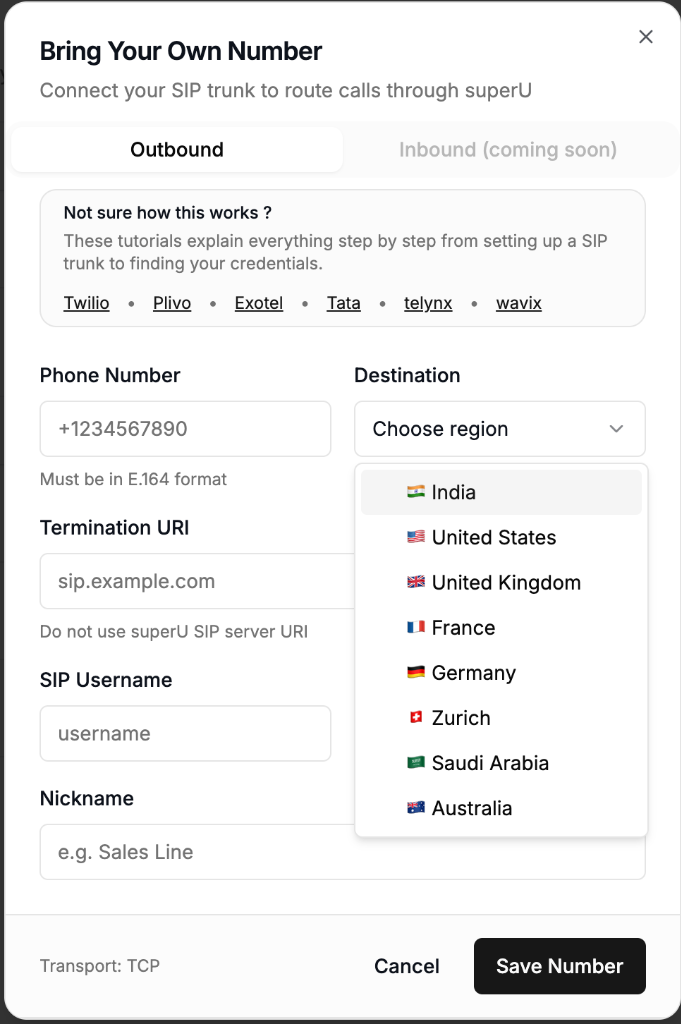
- India
- United States
- United Kingdom
- France
- Germany
- Zurich
- Saudi Arabia
- Australia
-
Termination URI: Enter
sip.telnyx.com. - SIP Username: Enter the username you created in the Outbound Settings.
- SIP Password: Enter the password you created in the Outbound Settings.
- Nickname: Give this number a recognizable name (e.g., “Telnyx Outbound”).