Prerequisites
- An n8n instance (Desktop or self-hosted)
- Admin access to install community nodes
- Your SuperU API key
Enable Community Nodes
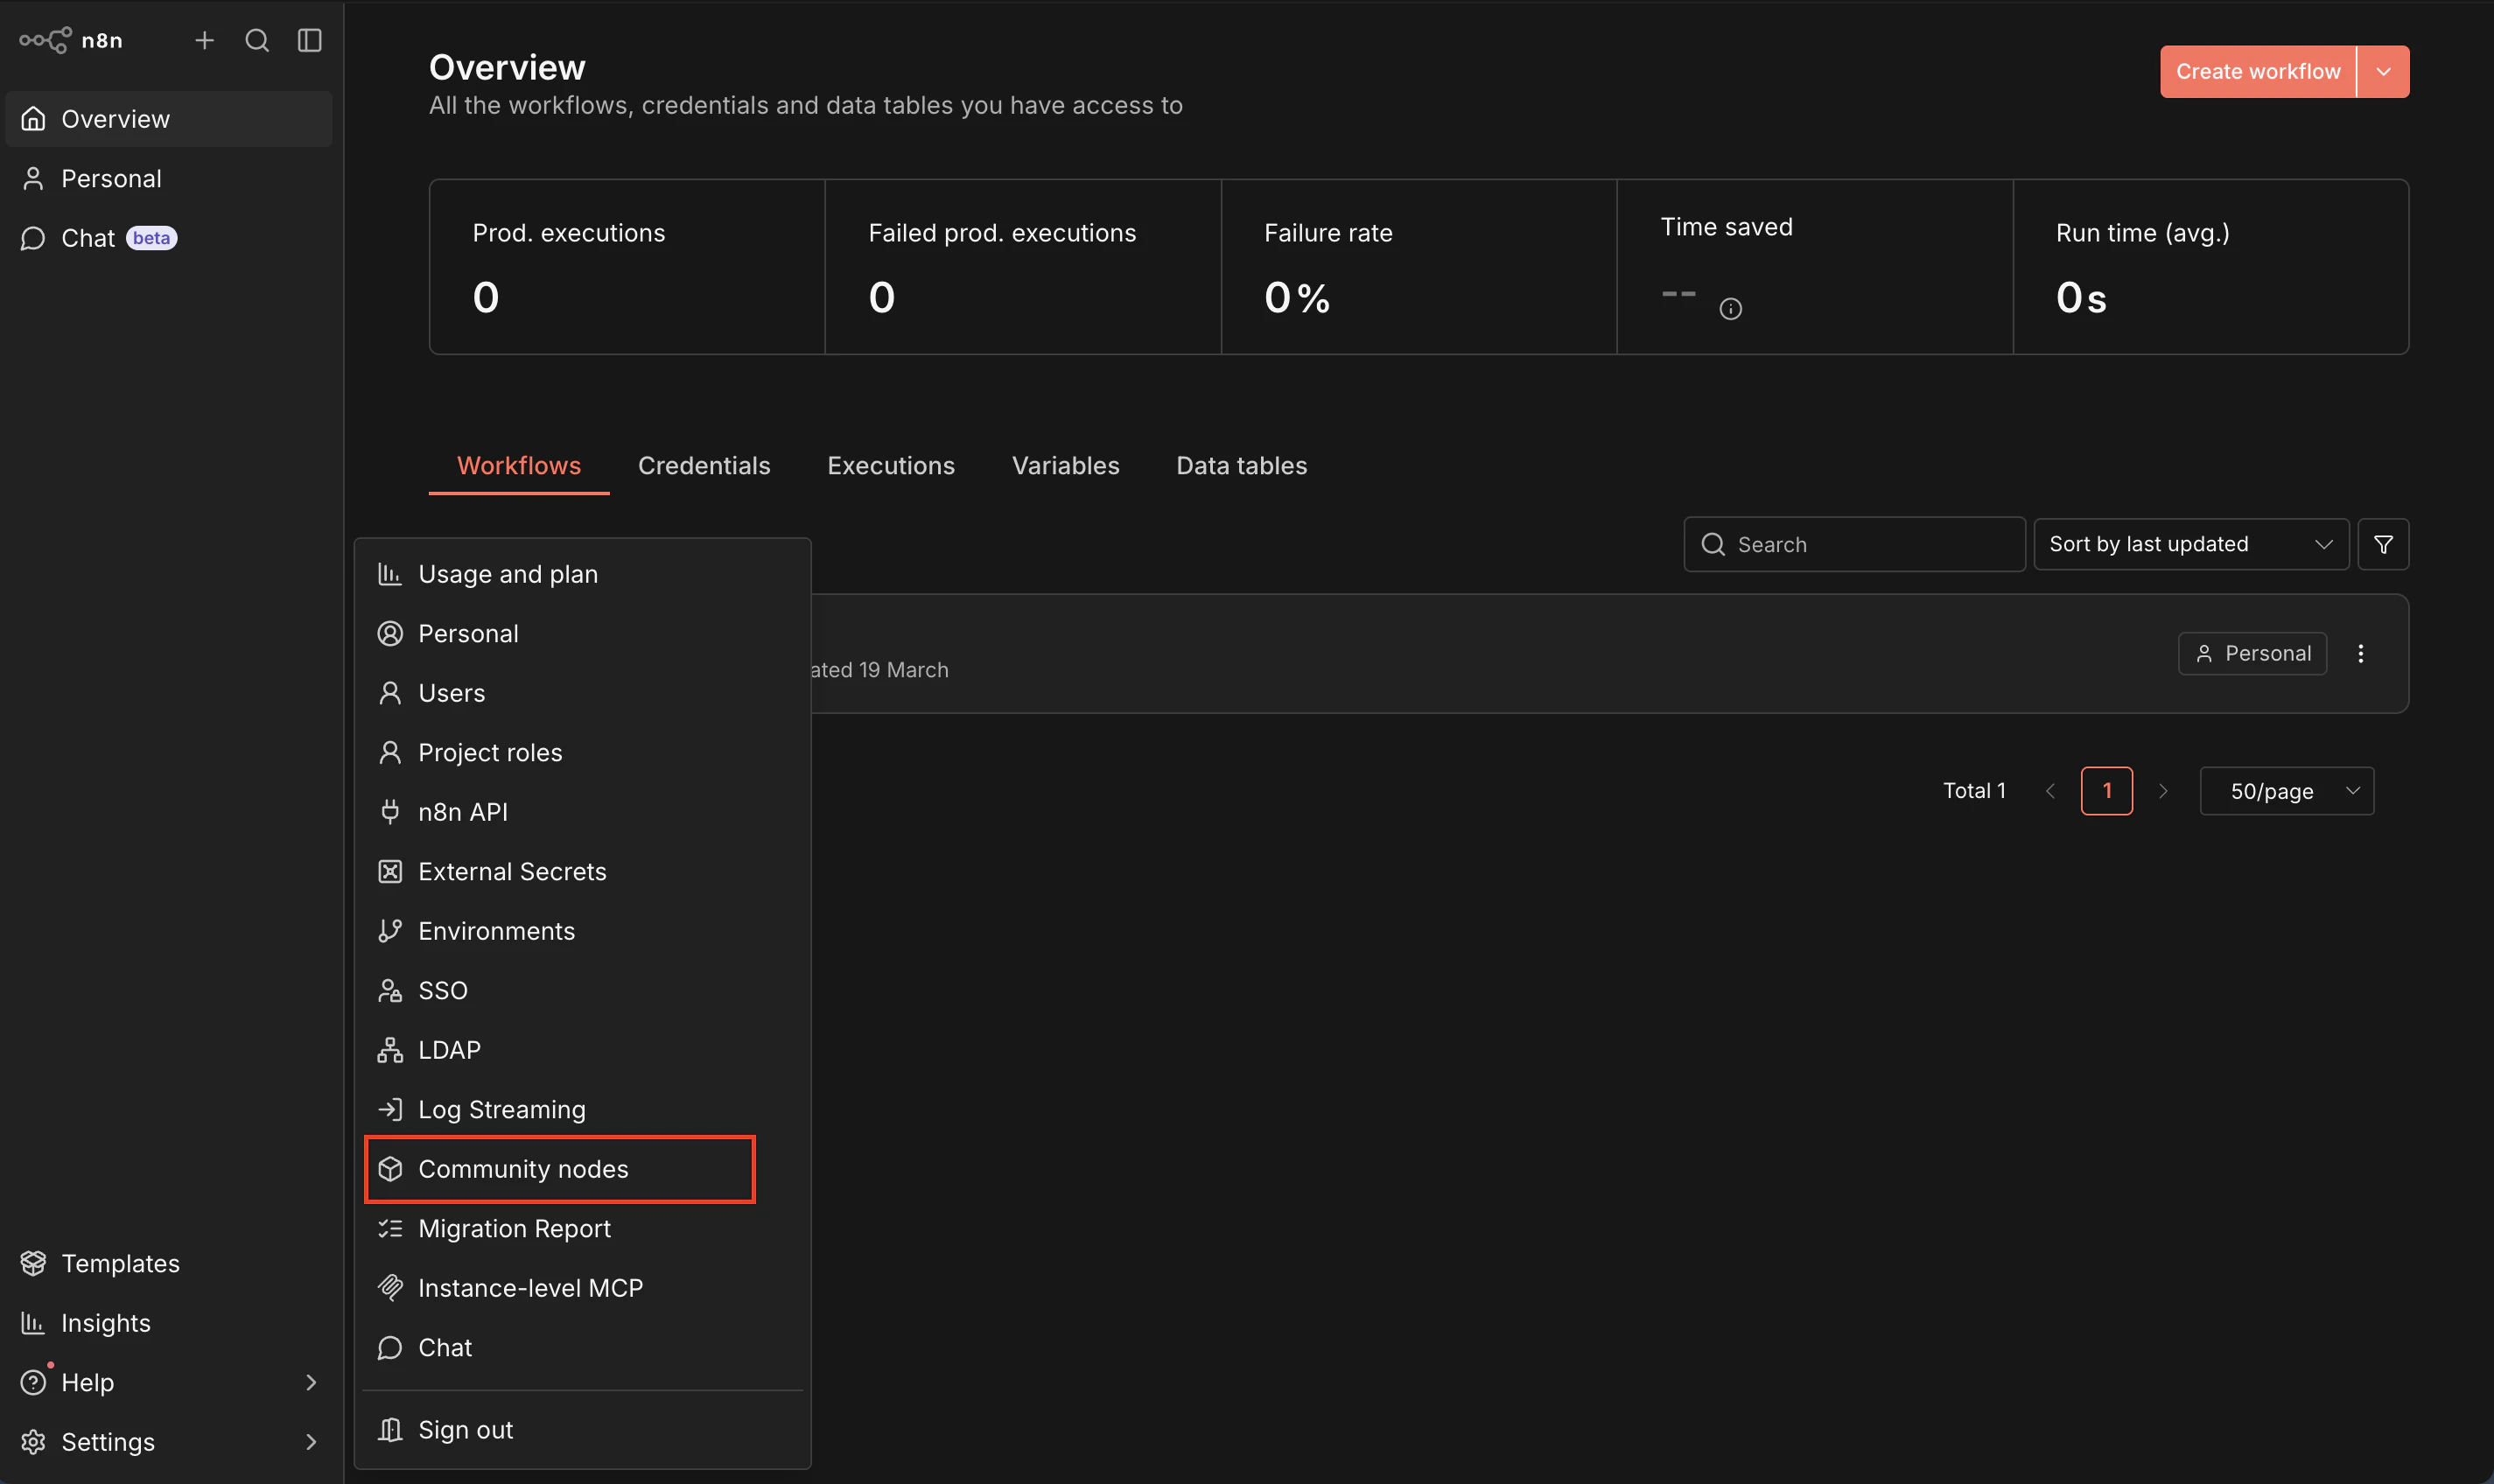
If this is your first time installing community nodes, enable them in settings.- Open Settings in n8n.
- Go to Community Nodes.
- Turn on Allow Community Nodes.
- Save changes.
Install the SuperU Community Node
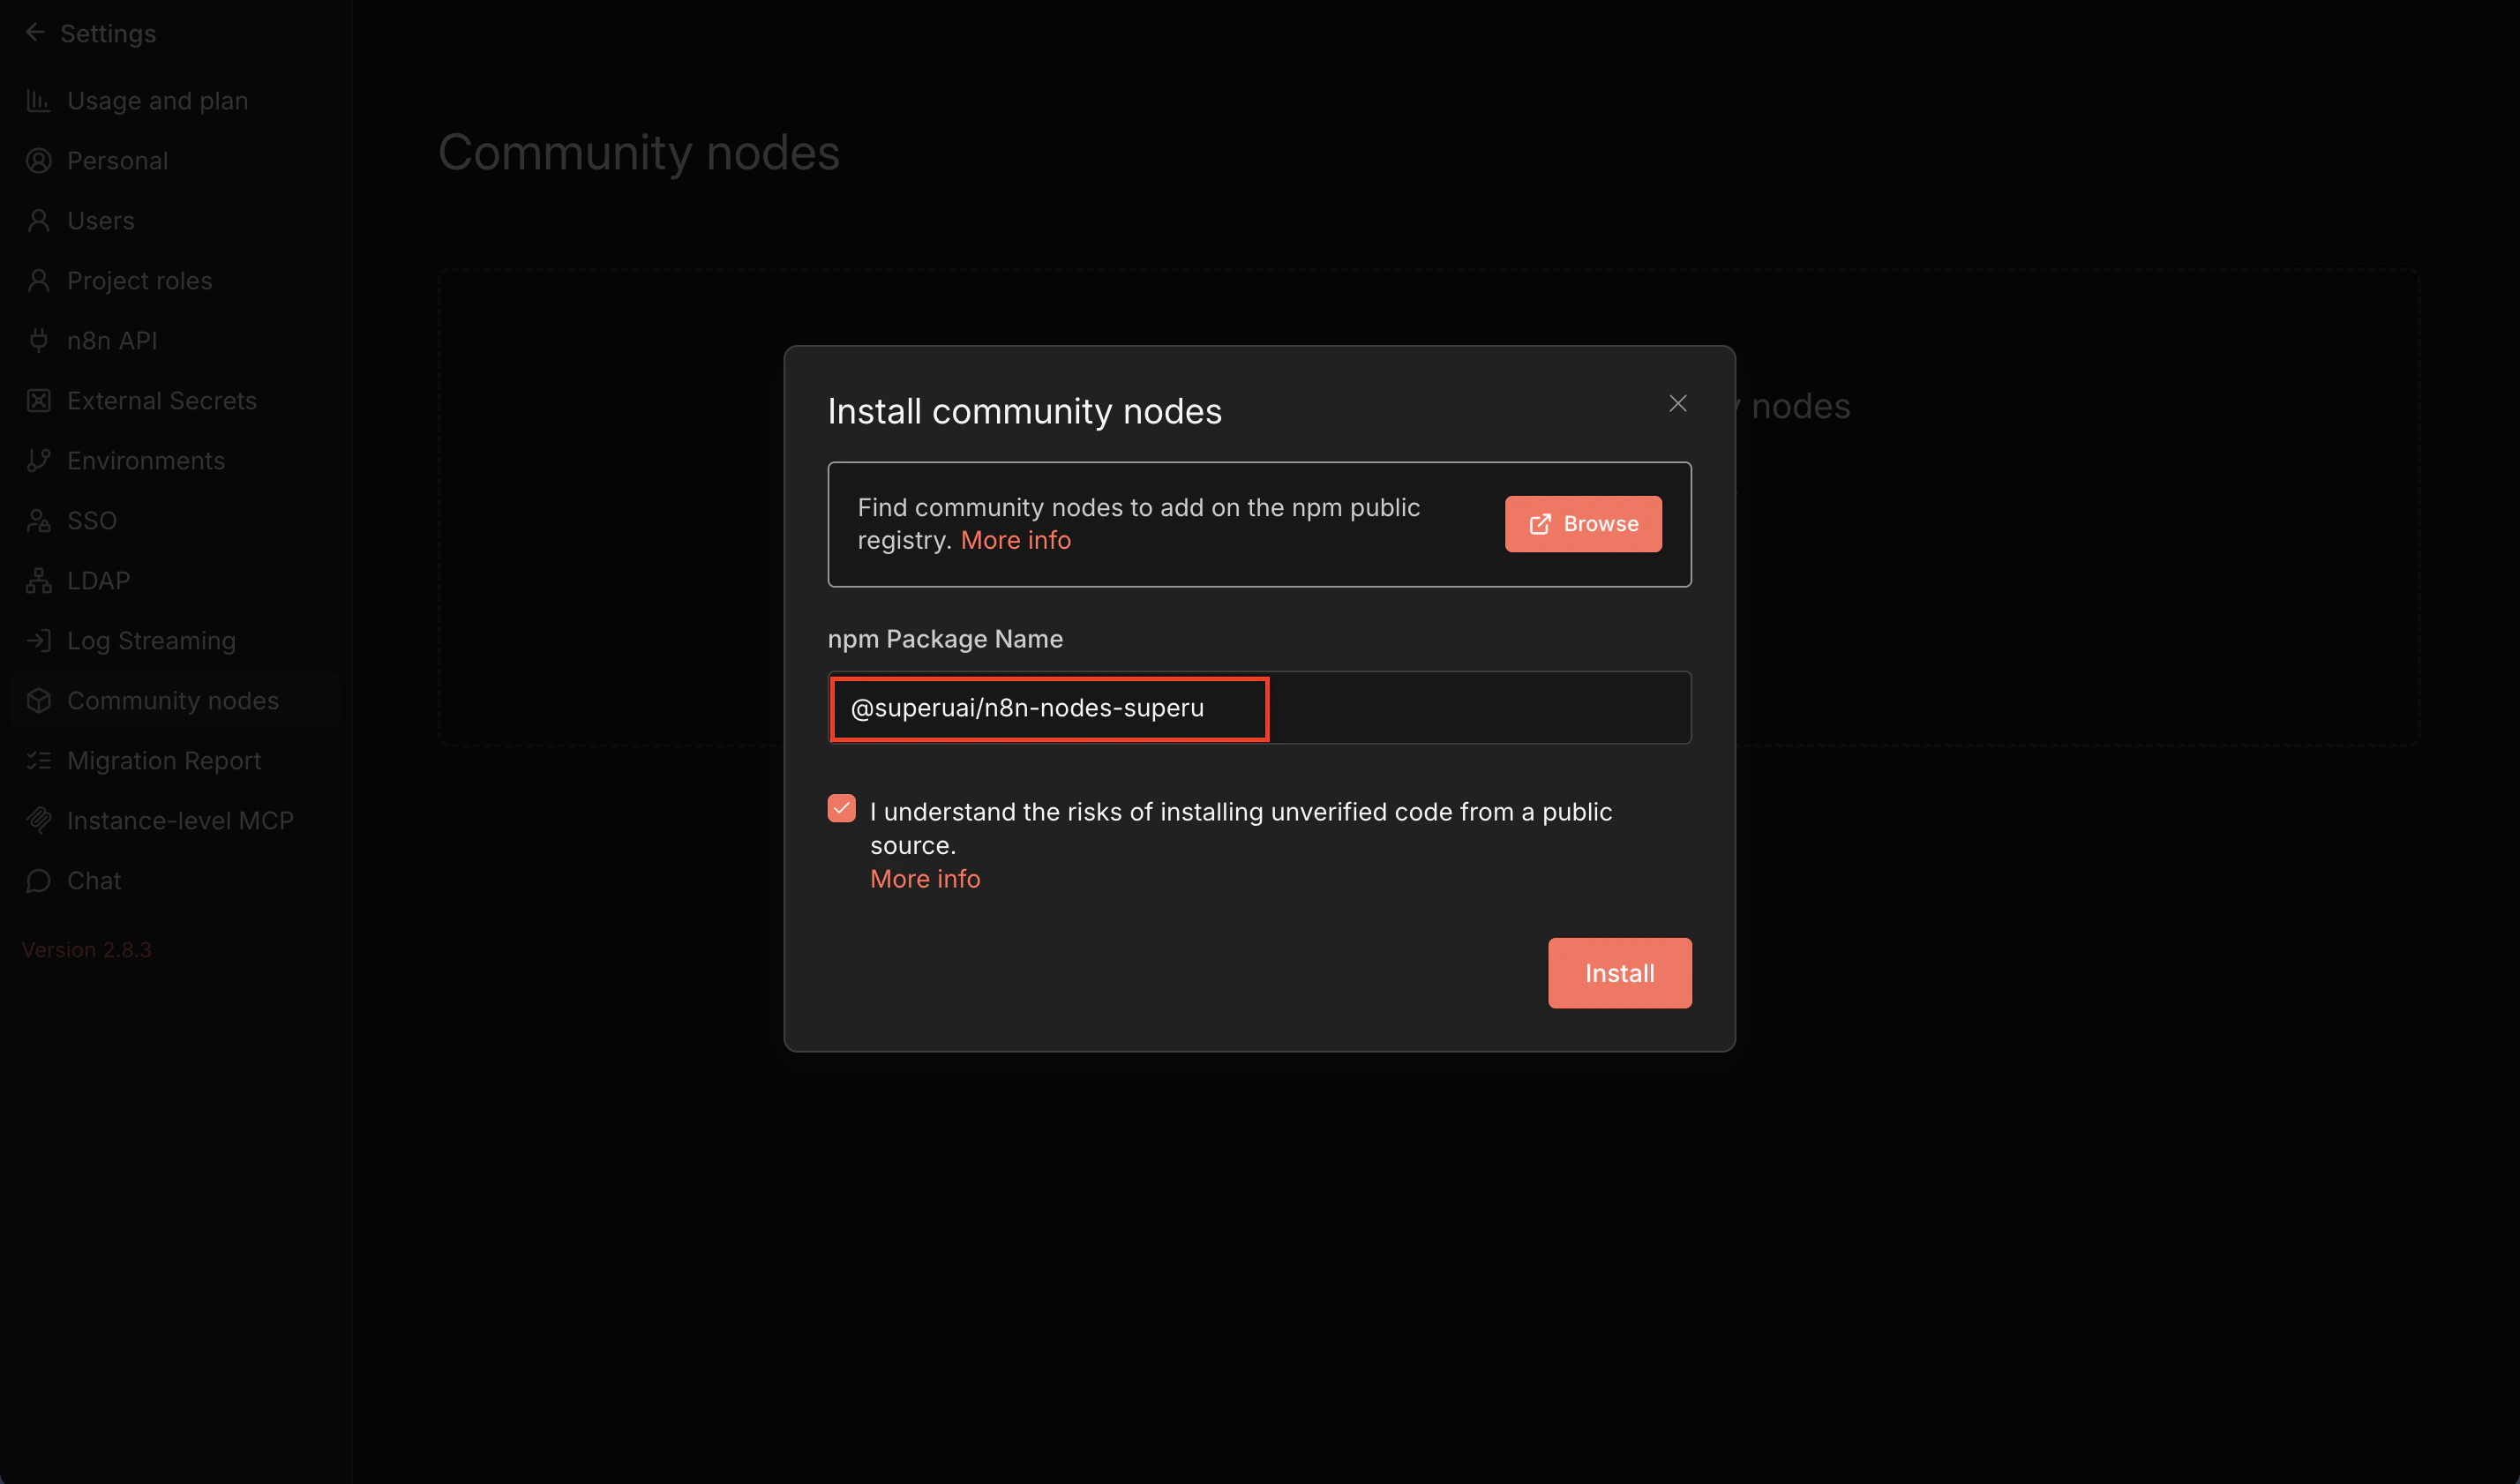
In n8n, install a community node package by name. Package name (copy this):- Go to Settings → Community Nodes.
- Click Install.
- Paste the package name.
- Click Install and wait for completion.
- Restart n8n if prompted.
Verify Installation
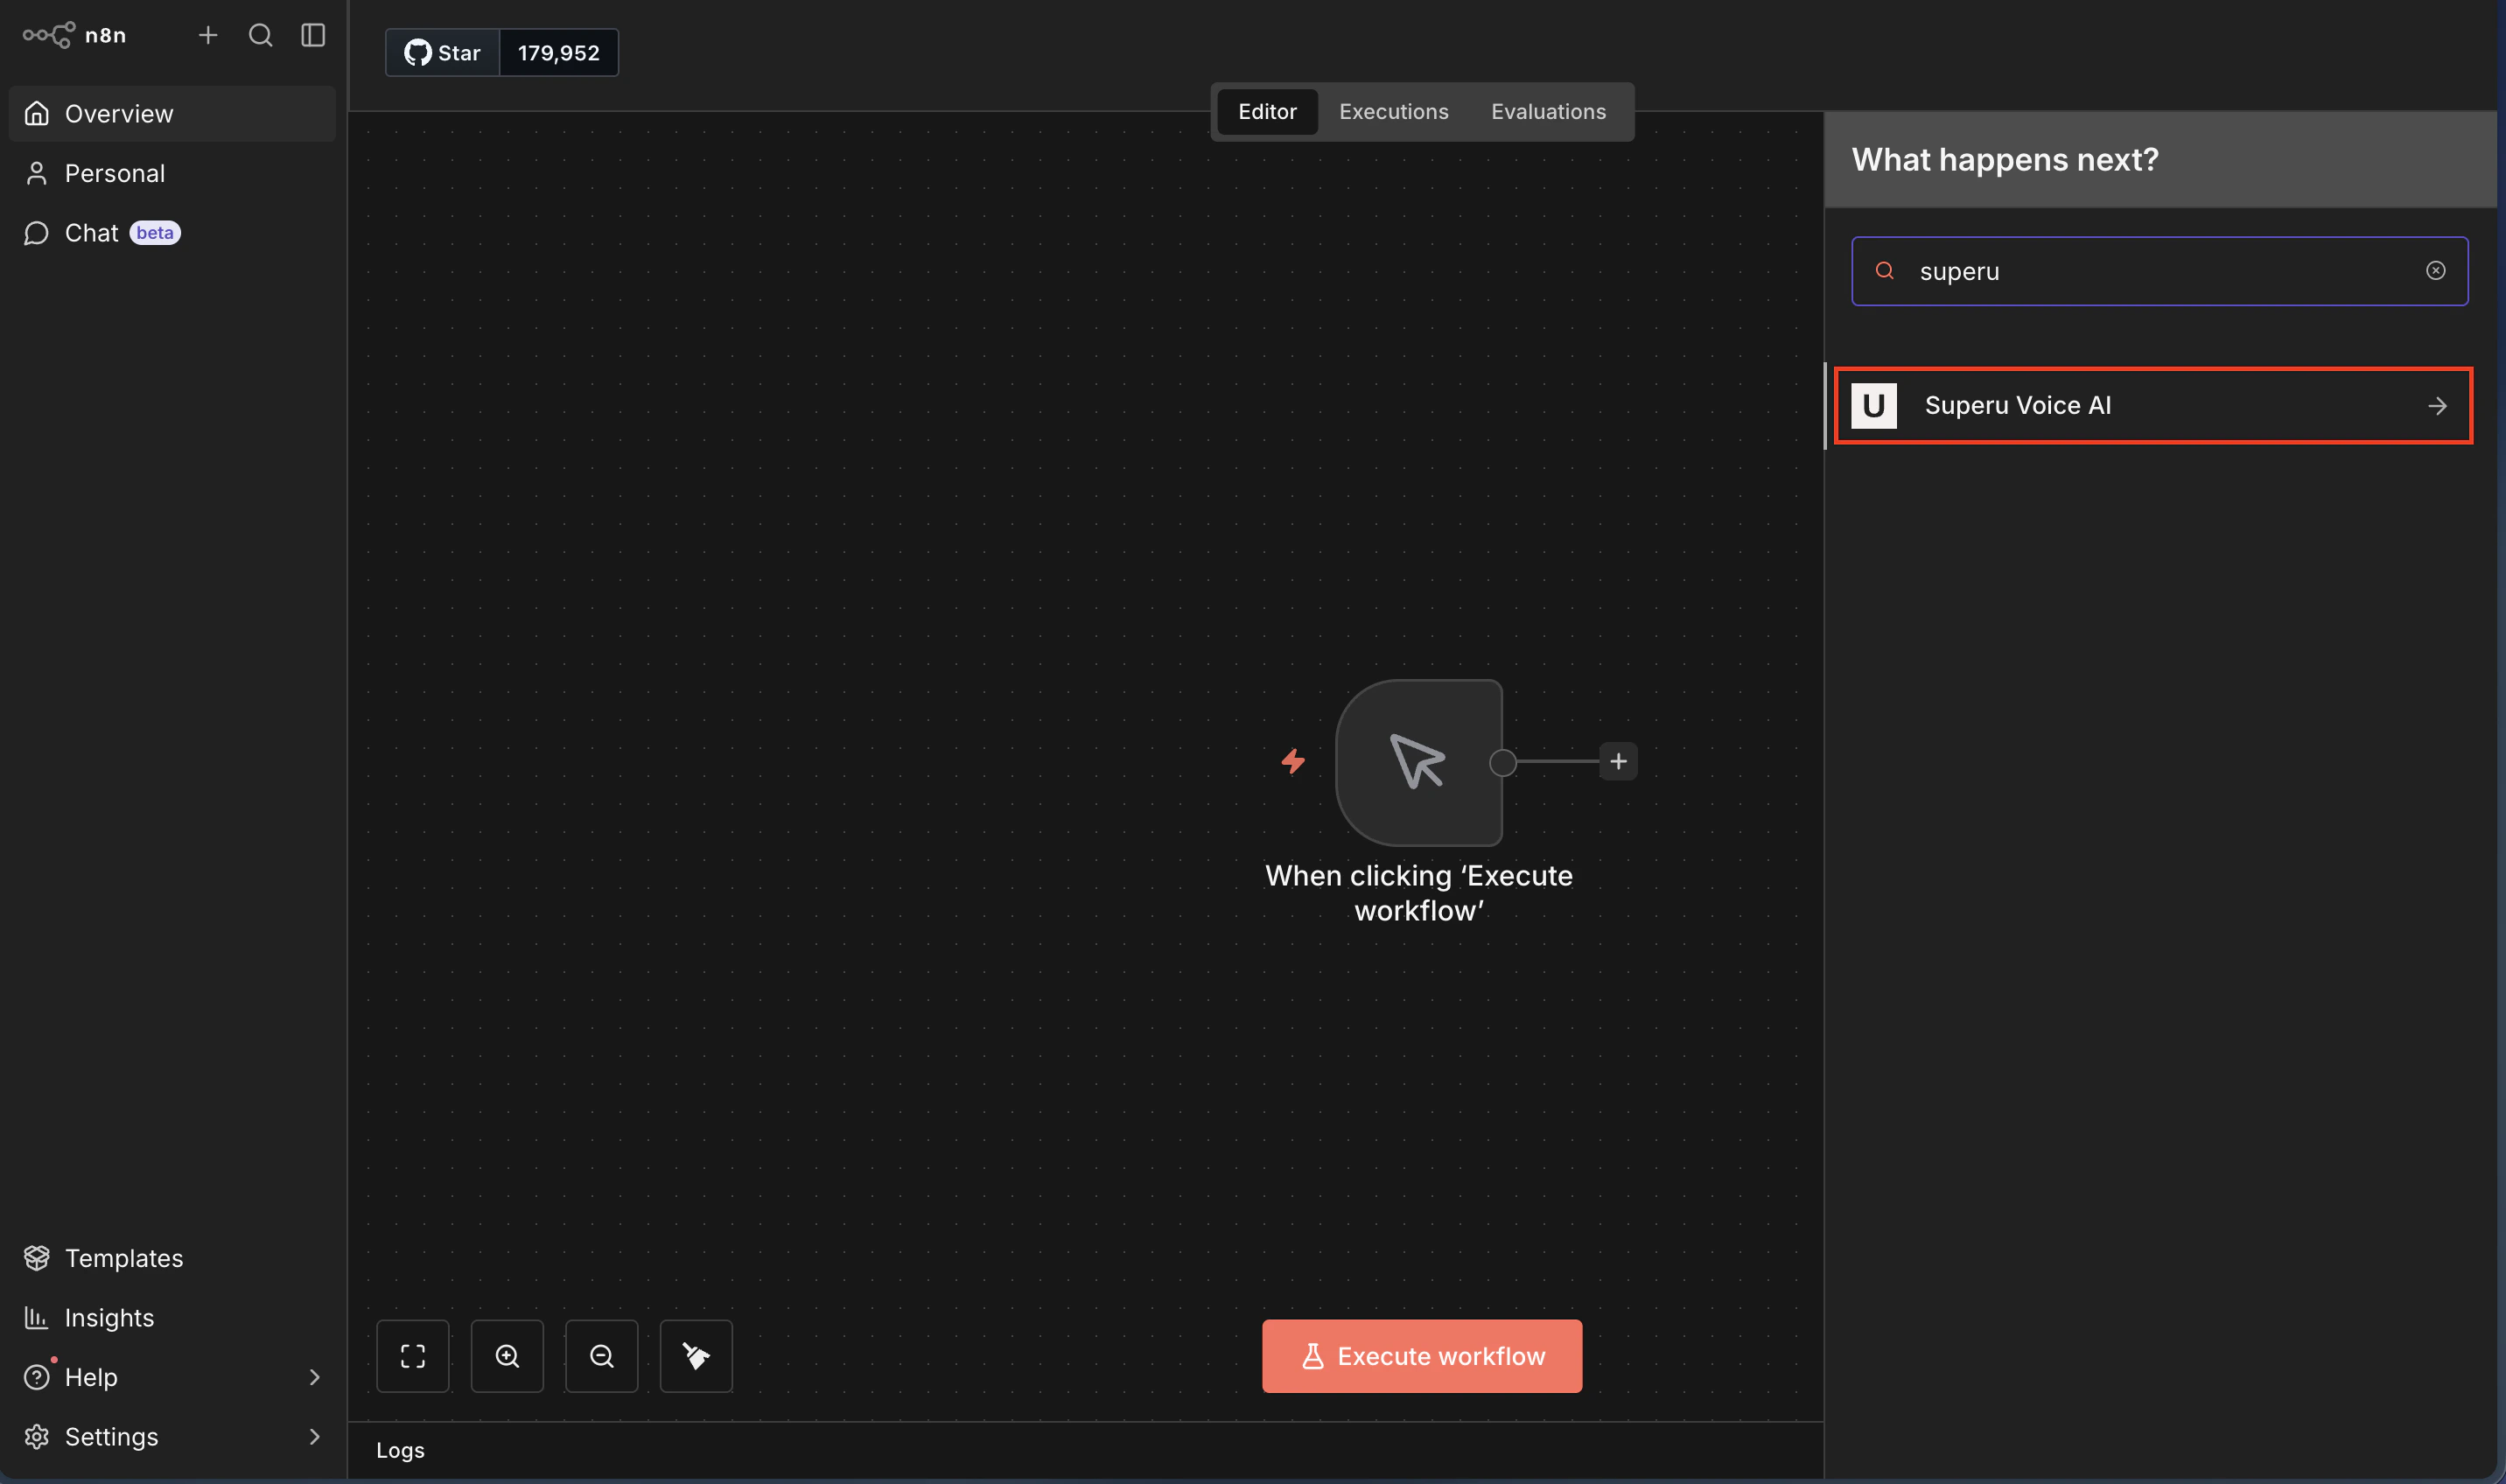
- The SuperU node appears in the node picker.
- A test request returns a successful response.
Configure the Node
- Add the SuperU node to a workflow.
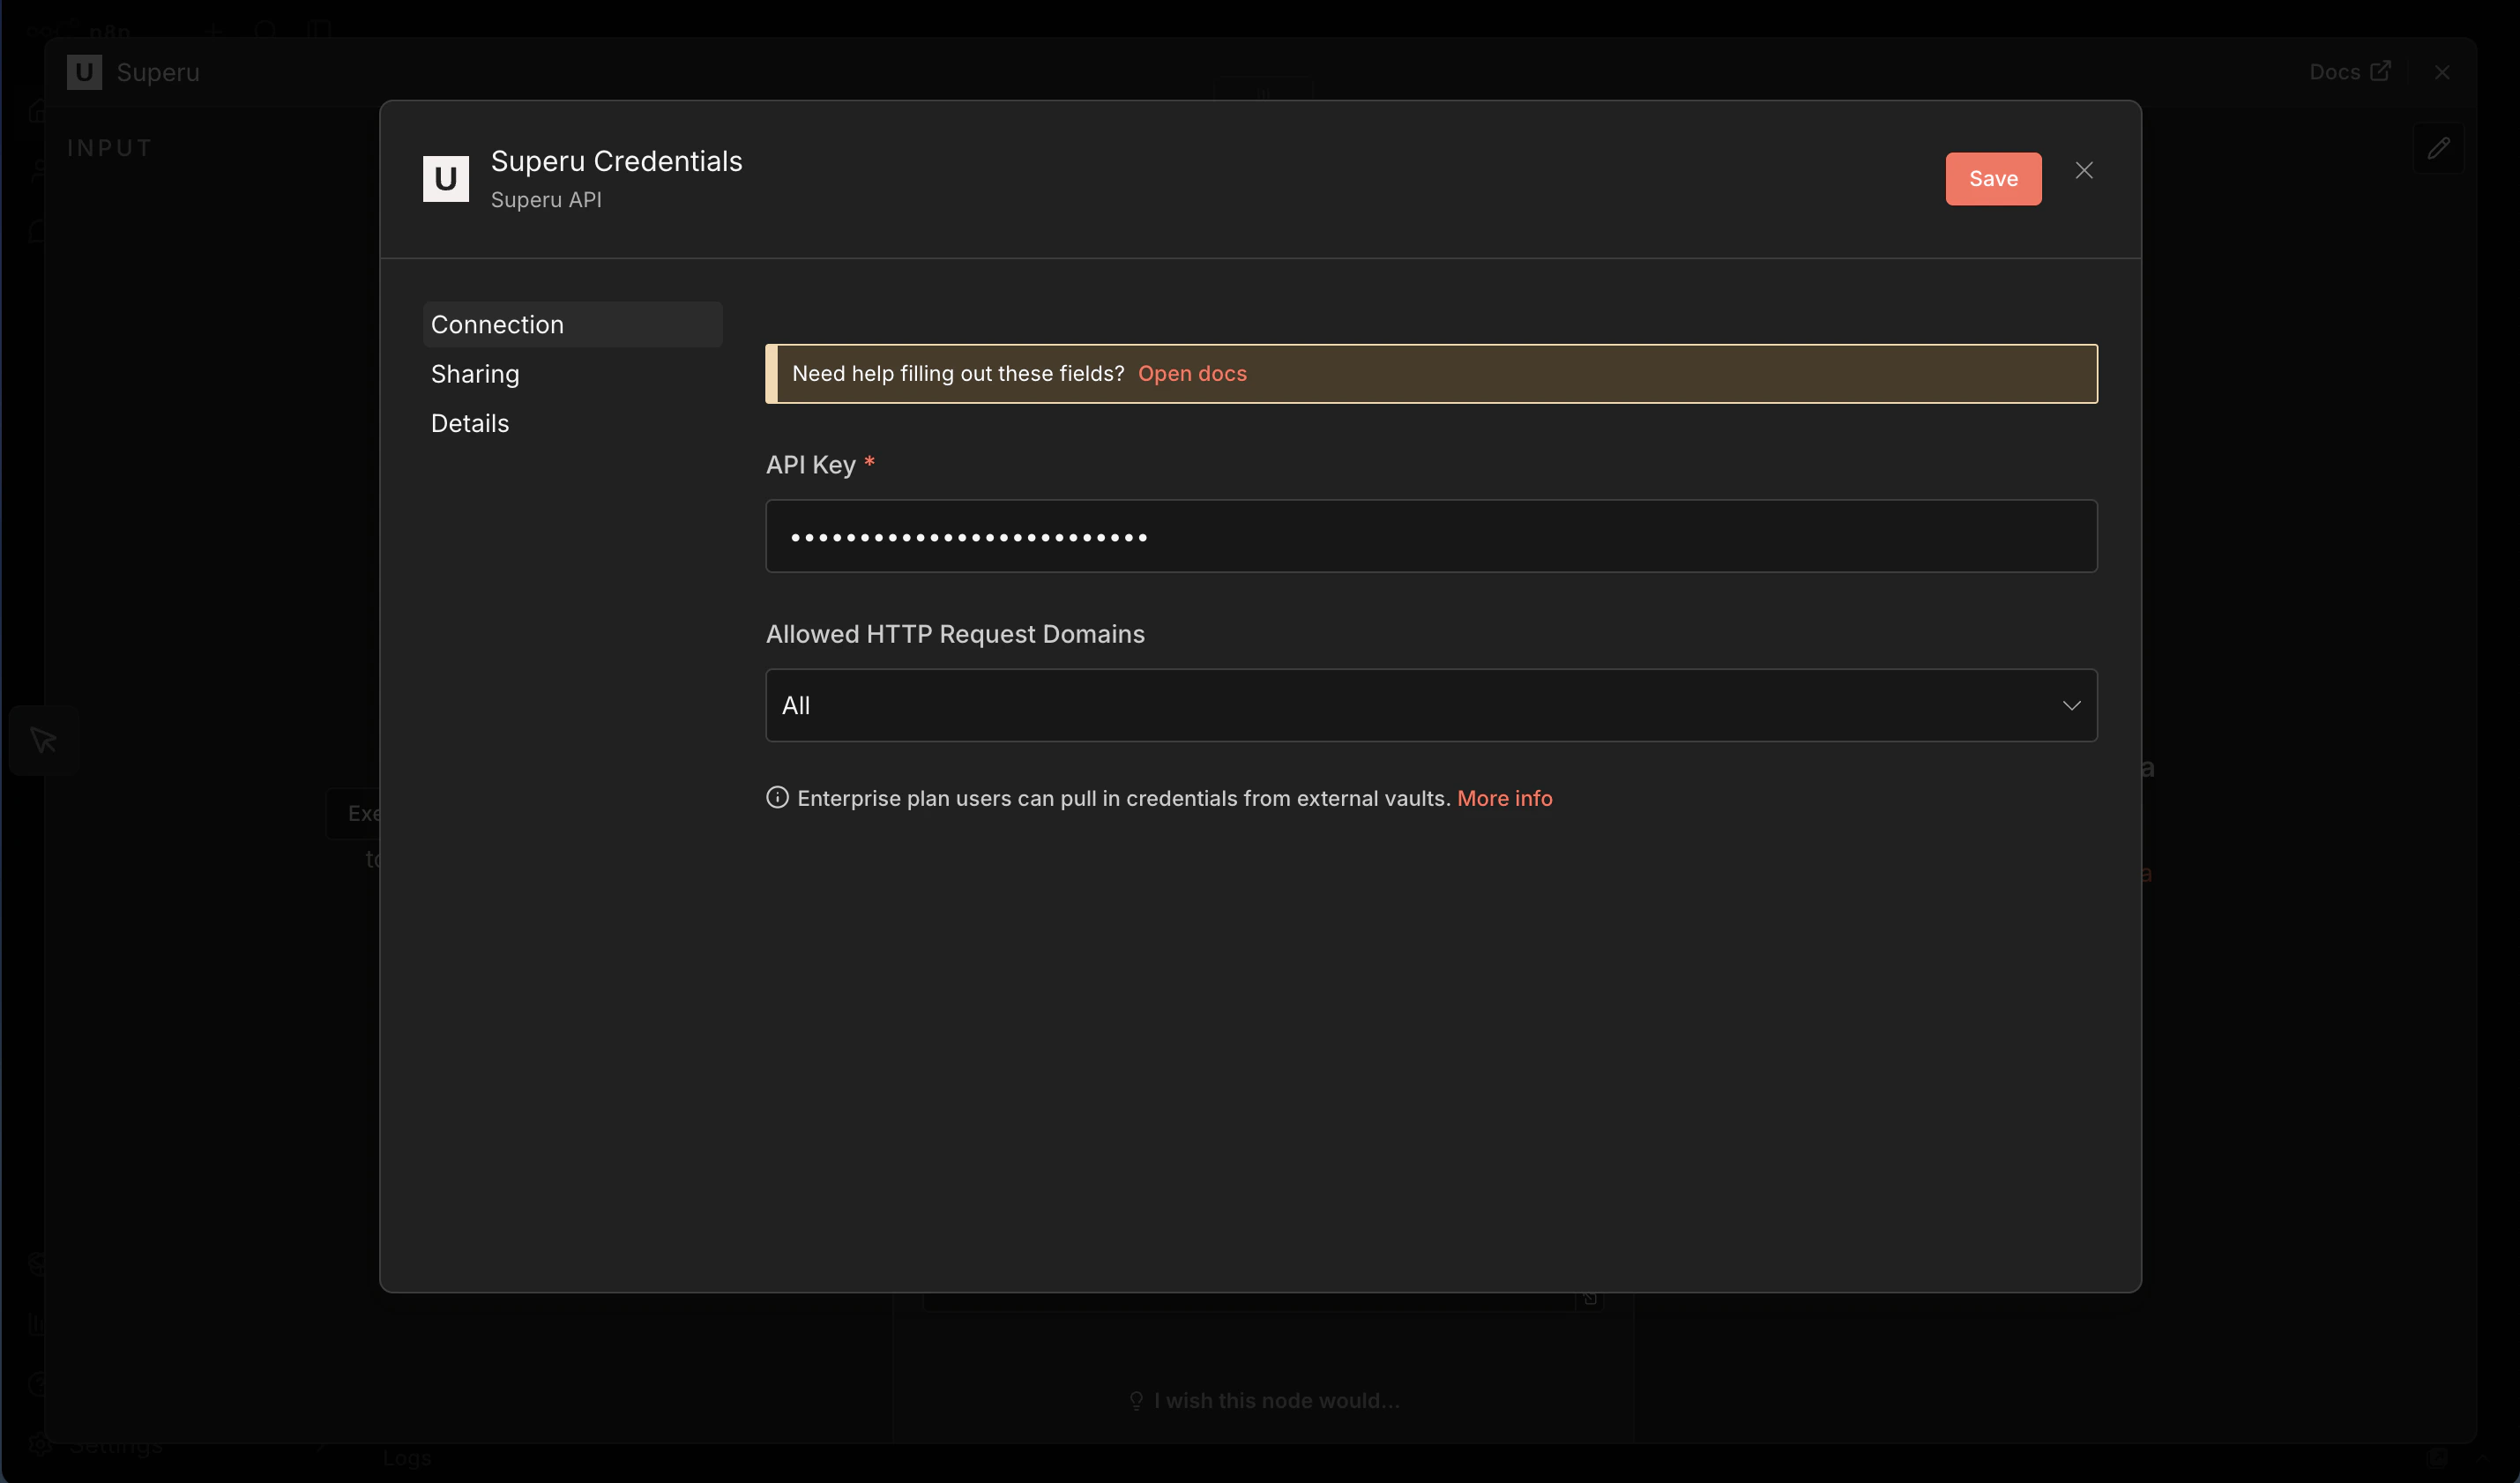
- Create new credentials and paste your API key.
- Save and test the connection.
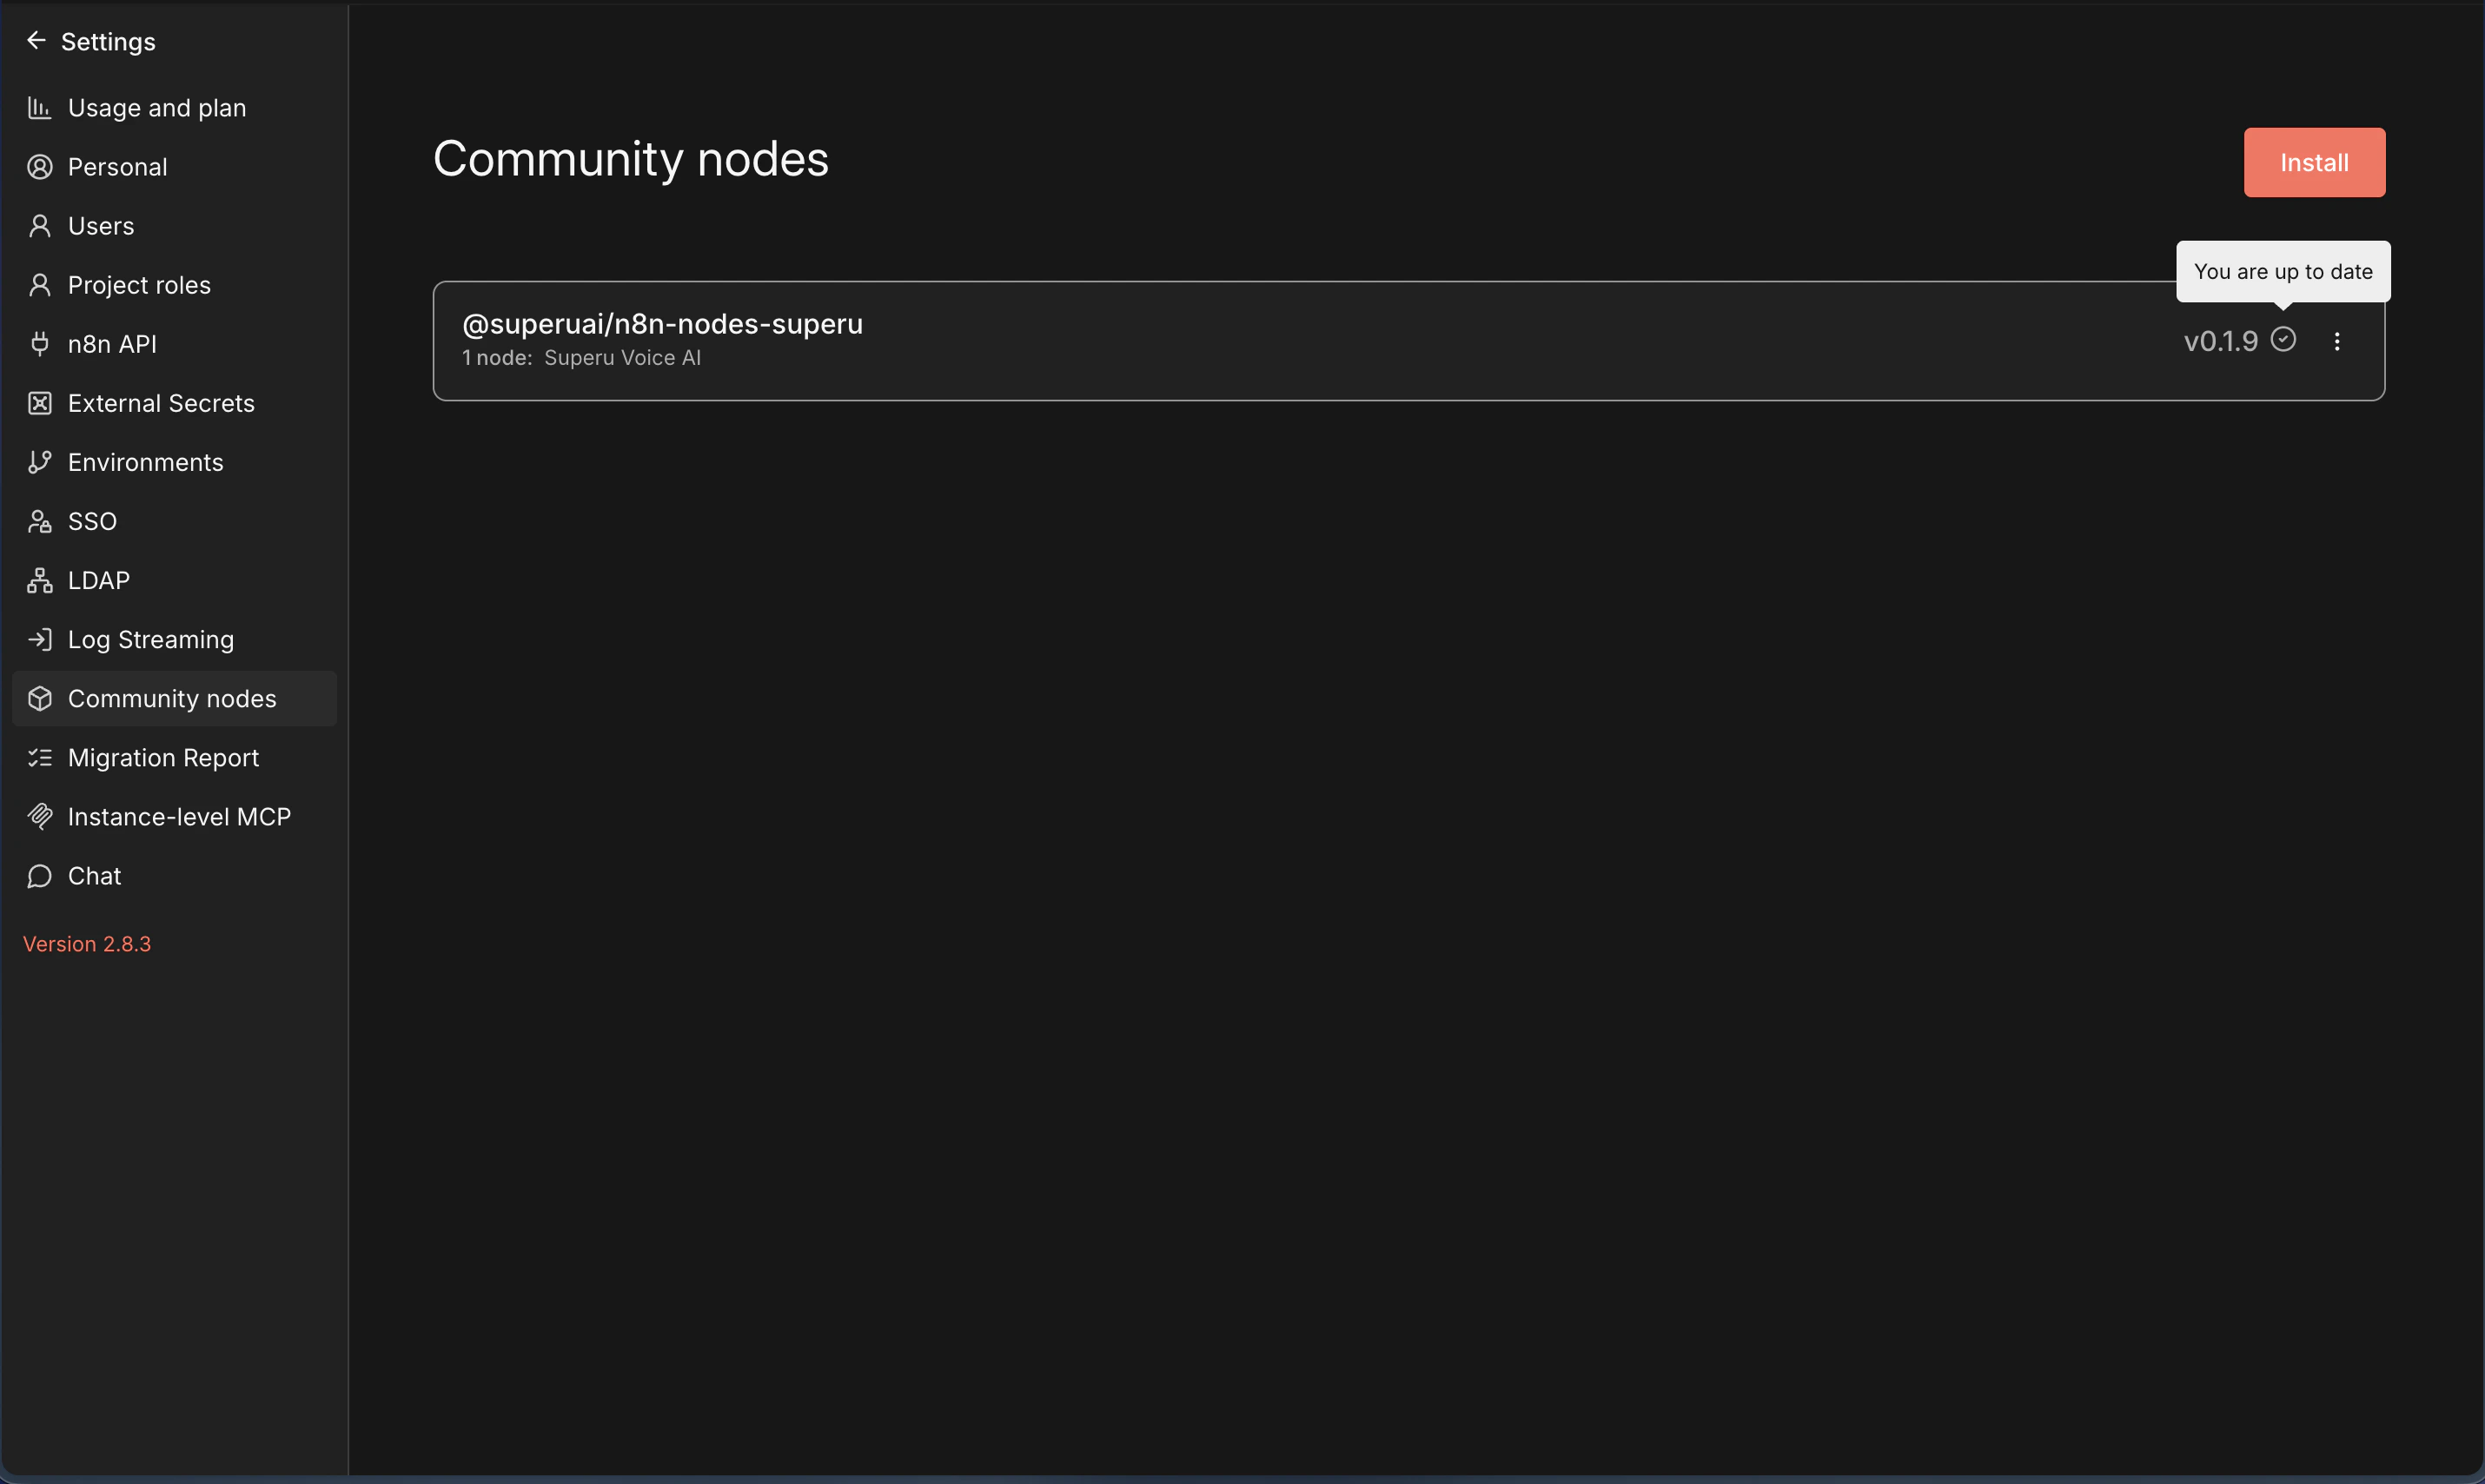
Update or Remove the Node
- Go to Settings → Community Nodes.
- Find
@superuai/n8n-nodes-superu. - Choose Update or Remove.
Troubleshooting
- Node not visible: Restart n8n and refresh the browser.
- Install failed: Check network access and npm registry availability.
- Auth error: Recreate credentials and confirm your API key.